DIY Fire Pit
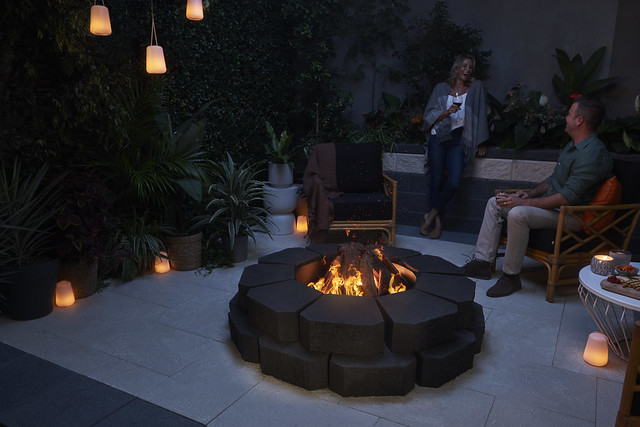
Channel your inner camper and install a beautiful fire pit at home!
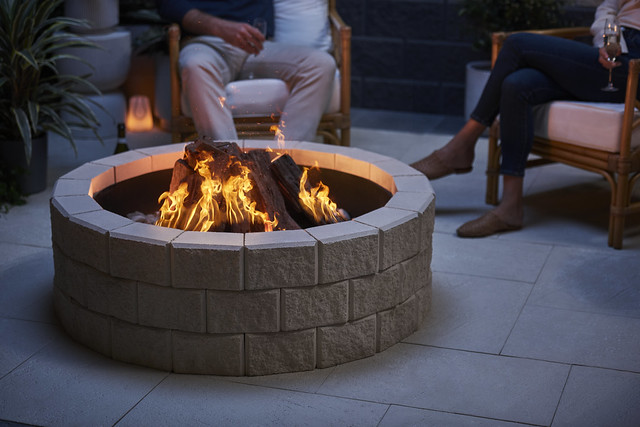
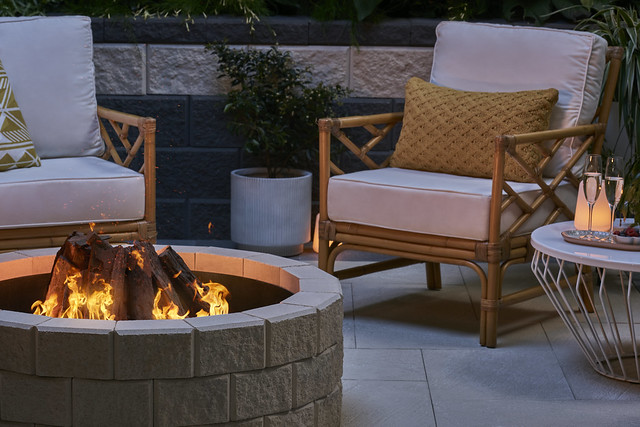
Create your personal backyard oasis, somewhere to enjoy a glass of wine or to kick back and enjoy your great outdoors at home. We stock a wide range of Austral Masonry products that can be used to DIY your own firepit.
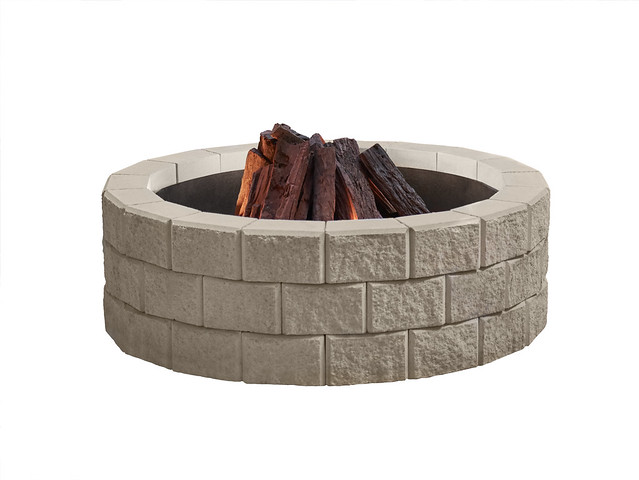
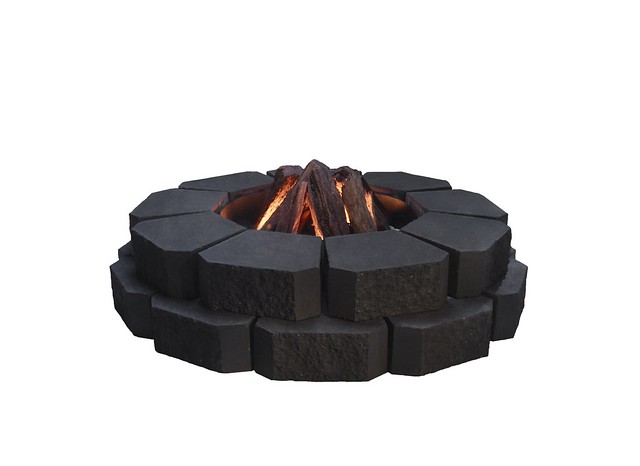
One of the most popular designs is a circular pit created with 54 circular Austral Masonry Bribie blocks.
Here is step-by-step guide to building fire pits with Bribie edging thanks to our friends at Austral Masonry
Tool Checklist:
String line
Tape measure
Walling units
Compaction tool
Shovel
Spirit level
Wheelbarrow
Agriculture drain pipe
Pegs or stakes
Broom
Gloves and eye protection
Saw (to cut blocks if required)
10–20mm crushed stone
Crushed rock (for base)
Fire Pit Elements:
- 54 Bribie Blocks
- Foundation
- Metal Insert or Brazier
STEP ONE
Foundation - Paver Surface or Concrete Slab
If you are building the fire pit on an existing paver surface or concrete slab, drill through the pavement to provide a 50mm diameter drain hole at the lowest point. This will allow the rainwater to infiltrate into the ground. Fill the drain hole with clean stone. Go to step 2.
Foundation - Compacted Gravel Base
Mark out the area of the fire pit and excavate to accommodate 150mm of well compacted, dense-graded aggregate base, a 25mm layer of sand bedding bed, and about 50 or 75mm of fire pit wall that will be buried below ground. The aggregate base should extend at least 150mm on all the sides of the fire pit walls.
It is recommended that a geotextile be laid on the top of the soil surface and up the sides of the excavated area.
Place and uniformly compact the aggregate base. The aggregate base should be compacted, for best results, using a vibratory plate compactor, or hand tamper. Spread 25mm bedding sand and level using two 25mm diameter pipes and a straight edge (such as a 50×100mm).
Keep in mind that the 25mm bedding sand will be reduced to 15mm once the wall blocks will be set into the bedding sand with a mallet.
STEP TWO
First Course - 18 x Standard Blocks
Place the first course on the levelling pad and tap into place ensuring blocks are level, front to back and side to side (check with a spirit level). The use of a level and string line is recommended to ensure the first course is laid correctly. Ensure each block should be butted up next to the block next to it with no gaps.
STEP THREE
Second Course - 18 x Standard Blocks
Place the second course on top of the first with a cross bond (each unit above should cross over half of two units below).
STEP FOUR
Third Course - 18 Standard Blocks
Repeat the same process as the 2nd course. Place the third course on top of the second with a cross bond (each unit above should cross over half of two units below).
STEP FIVE
Add a metal insert or brazier inside the fire pit Once the outer walls are built you then need to put in a metal insert or brazier that is made from a non combustible material. This insert will contain the fire and insulate the retaining wall blocks from degrading to ensure you have a fire pit that is designed to last.
A full installation guide with diagrams, tips and tricks can be found here.